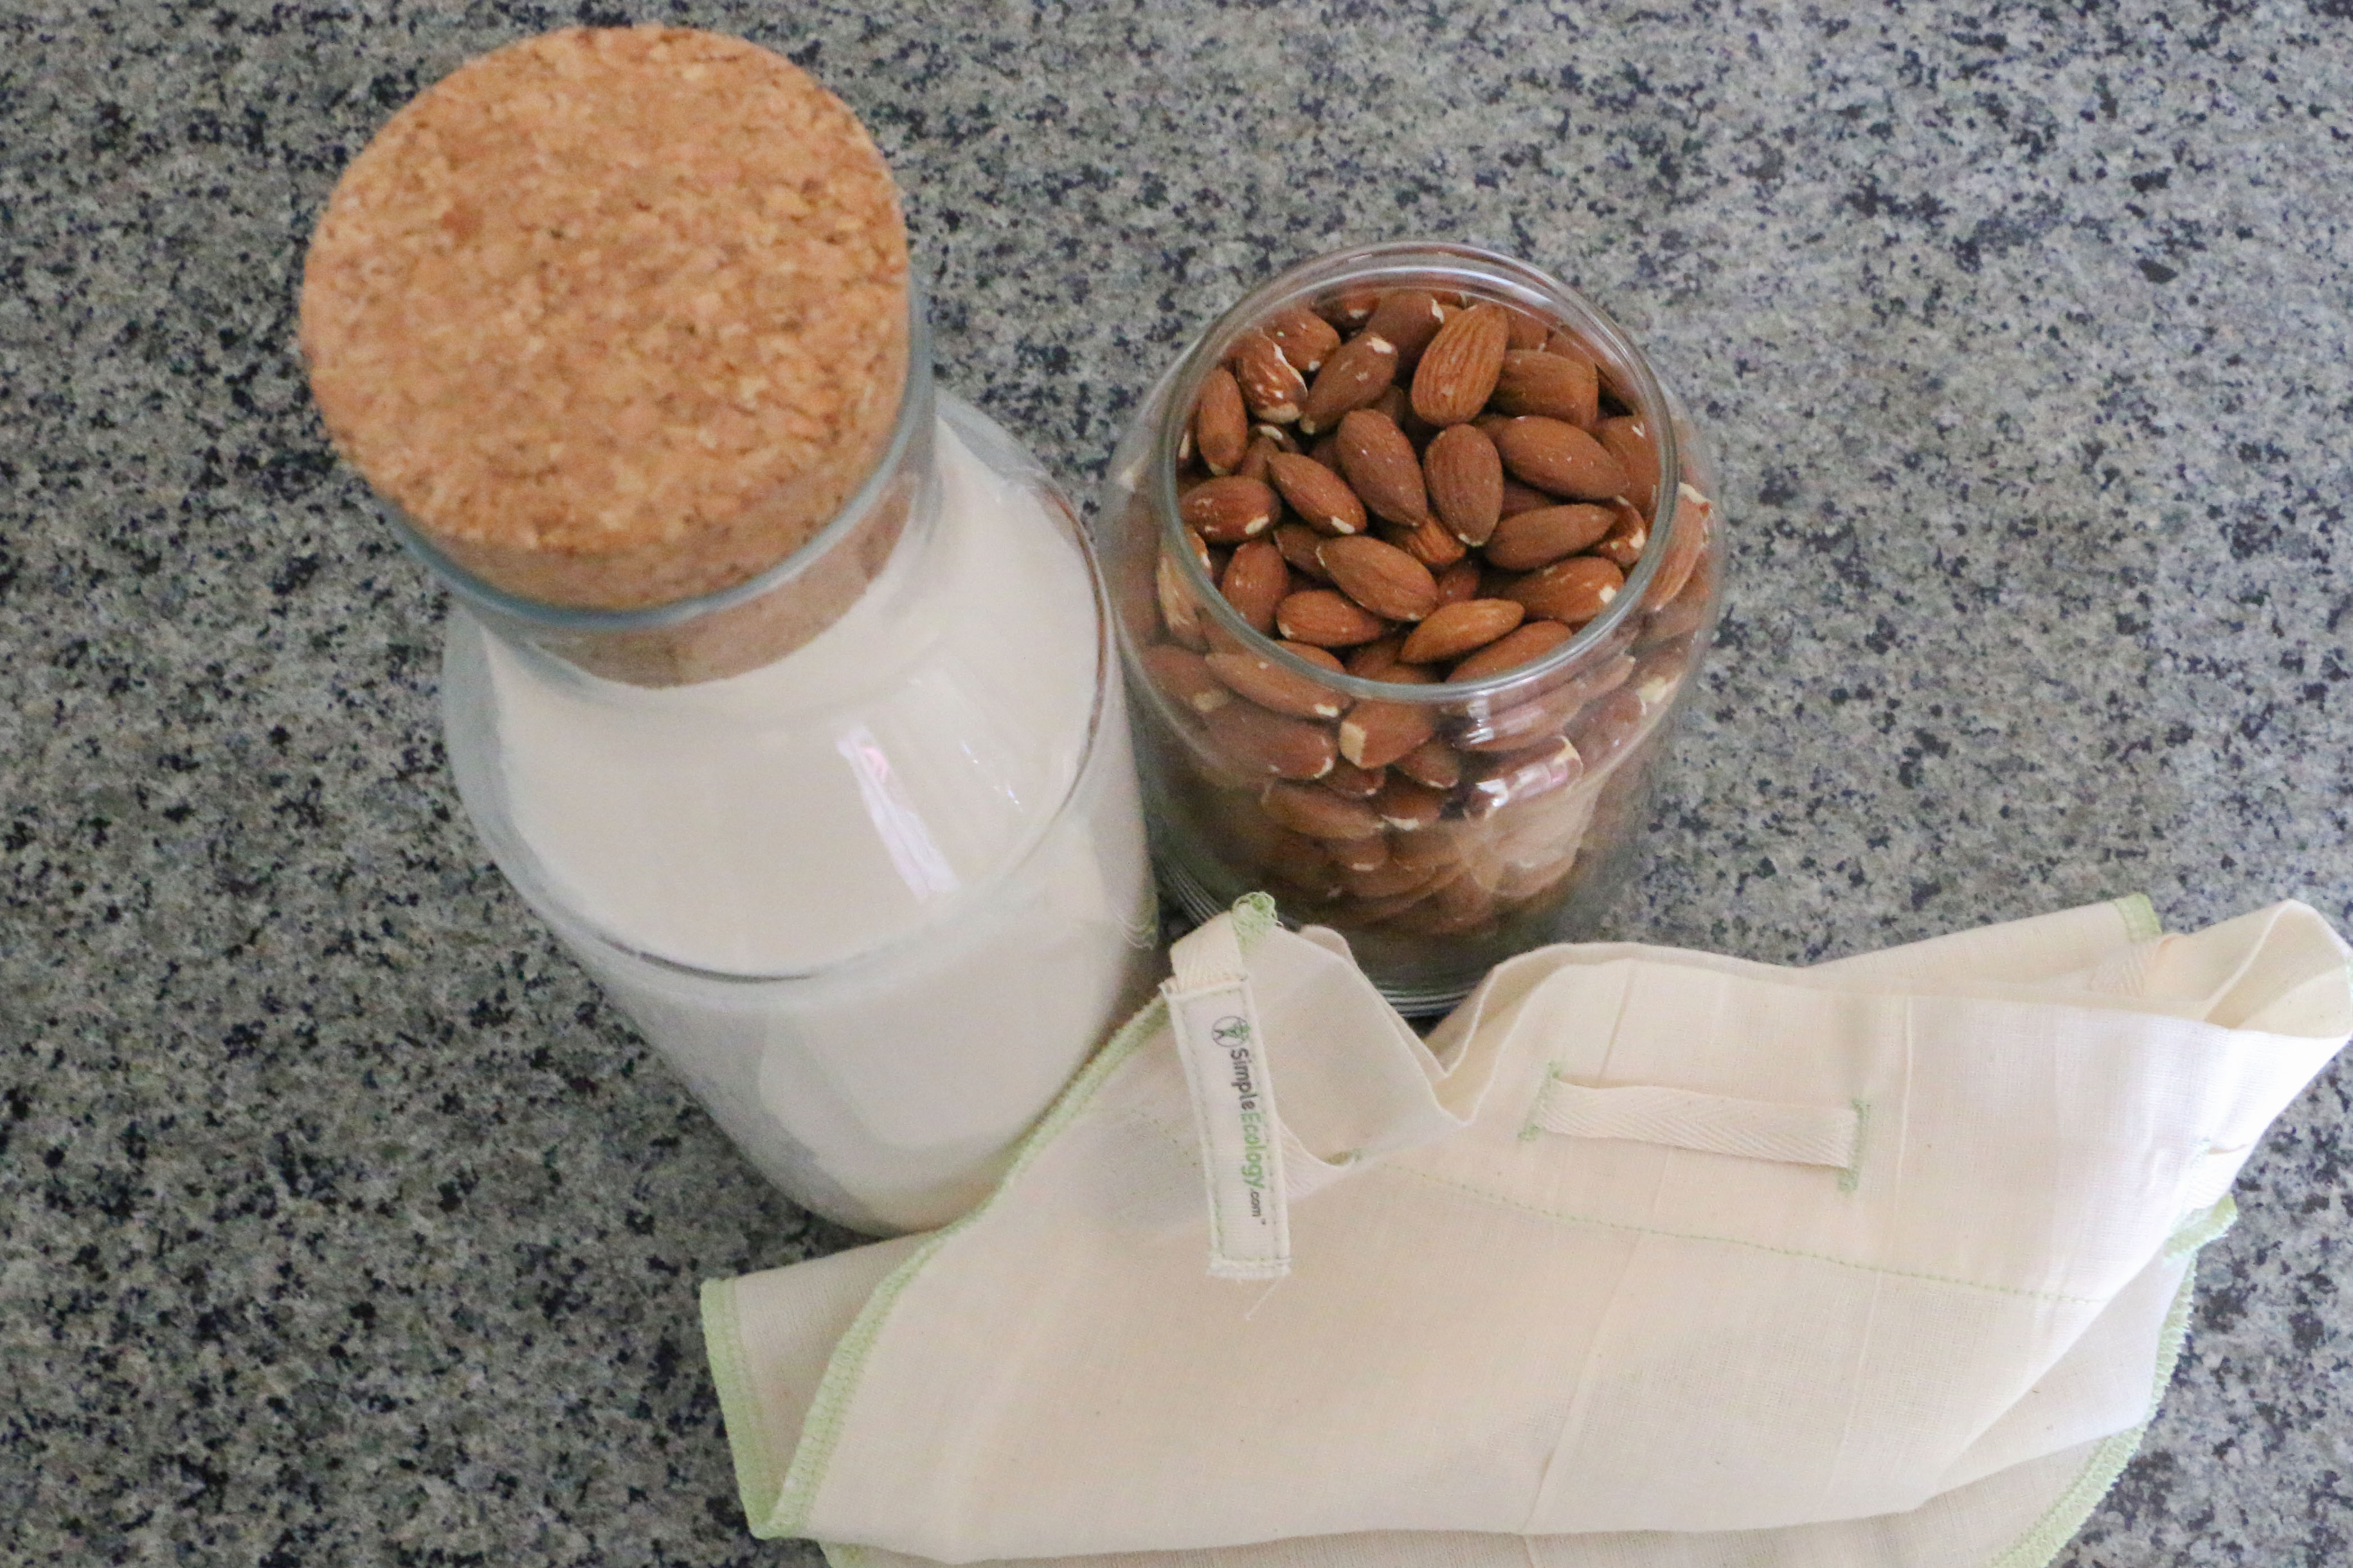
Zero Waste Almond Milk
Almond milk (and other non-dairy alternatives) have become hugely popular in the past few years, popping up in grocery stores and coffee shops almost everywhere. While these store-bought versions are convenient, they’re loaded with hidden sugars and preservatives, making them less healthy than one might initially think. But did you realize how simple it is to make your own? This easy recipe goes perfectly when poured over some Homemade Granola, mixed into a smoothie, or along with a cup of Cold Brew Coffee, and can easily be made ZERO WASTE with only a few tools and ingredients.
Zero Waste Almond Milk’s Environmental Benefits
By using Reusable Straining Bags, buying almonds in bulk with Reusable Bulk Bin Bags, and utilizing the leftover almond pulp for Homemade Almond Flour, this recipe can be made completely ZERO WASTE
The meat and dairy industries are hugely contributing to the amount of greenhouse gasses going into the atmosphere, switching to non-dairy or vegan options can help combat this impact
Almond milk produces lower levels of carbon emissions than other vegan milk alternatives, such as soy milk or oat milk, as well as using less land space to produce the same amount of milk alternative
Zero Waste Almond Milk
Soak time: 12-24 hours
Work time: 15 minutesMakes 4 Cups
Ingredients:
- 1 cup Raw Almonds
- 4 cups Water + more for soaking
Optional:
- Additional flavorings (see notes)
Instructions:
1. PREP: Place the almonds in enough water to cover them thoroughly, and let them soak for 12 to 24 hours. While soaking, they can be left either on the counter at room temperature or in the fridge.
2. BLEND: Drain the almonds from their soaking liquid, and transfer the almonds to a blender. Add in the 4 cups of water, and blend on a high speed until the almonds are completely liquefied, around 60 seconds.
3. STRAIN: With a bowl to catch the liquid underneath, pour the blended liquid through a reusable straining bag , allowing the milk to pass through into the bowl. An alternative is to balance a strainer over a sink with a bowl underneath, place the straining bag inside, and allow the almond milk to sit and drain out. After the mixture has drained for a few minutes, squeeze the bag to get the remaining liquid out. (You’ll be surprised how much is left in there, don’t throw all that milk away!) Transfer the milk to an airtight container, and store in the fridge for up to a week. The leftover almond pulp in the straining bag can be used for composting, or can easily be made into homemade almond flour (see notes).
Notes:
Flavored Almond Milk- it’s incredibly easy to flavor this almond milk if plain isn’t your style, they work especially well when added to your morning coffee. Just add in the flavorings to the blender to fully incorporate. Try out these combinations or make your own!
- Vanilla- ½ tsp Vanilla Extract
- Chocolate- 1½ Tbsp Cocoa Powder + 2 Tbsp Sweetener (try Agave or Honey)
- Maple- ½ tsp Maple Extract OR 1½ Tbsp Maple Syrup
Homemade Almond Flour - While you could toss the leftover ground almonds into the compost, why not try making your own almond flour. Just take the almond meal (with as little liquid left as possible), plop it onto a pie tin, and dry it out by placing in the oven on its lowest setting. Take the pan out and flip every 15 minutes, and continue to bake until completely dried out, then let it cool. Later, take the dried almond meal and whiz it in a food processor, sift the powder to remove any big chunks or skins, and voila, you have homemade almond flour. We’d recommend storing this in the freezer in an airtight container to maximize freshness. Sediment- There may be some almond sediment left after straining, just be sure to stir up the milk before using it to mix it in with the rest of the liquid. Shelf Life- Since this almond milk is made with no preservatives, it will not last as long as the store bought versions. It should be stored into the fridge in a covered or airtight container for up to a week. However, this almond milk is so delicious, we’ve never had a problem using it all up!

Did you make this recipe?
We love to see your pictures!
Tag @simple_ecology and hashtag it #simpleecology
© Simple Ecology
