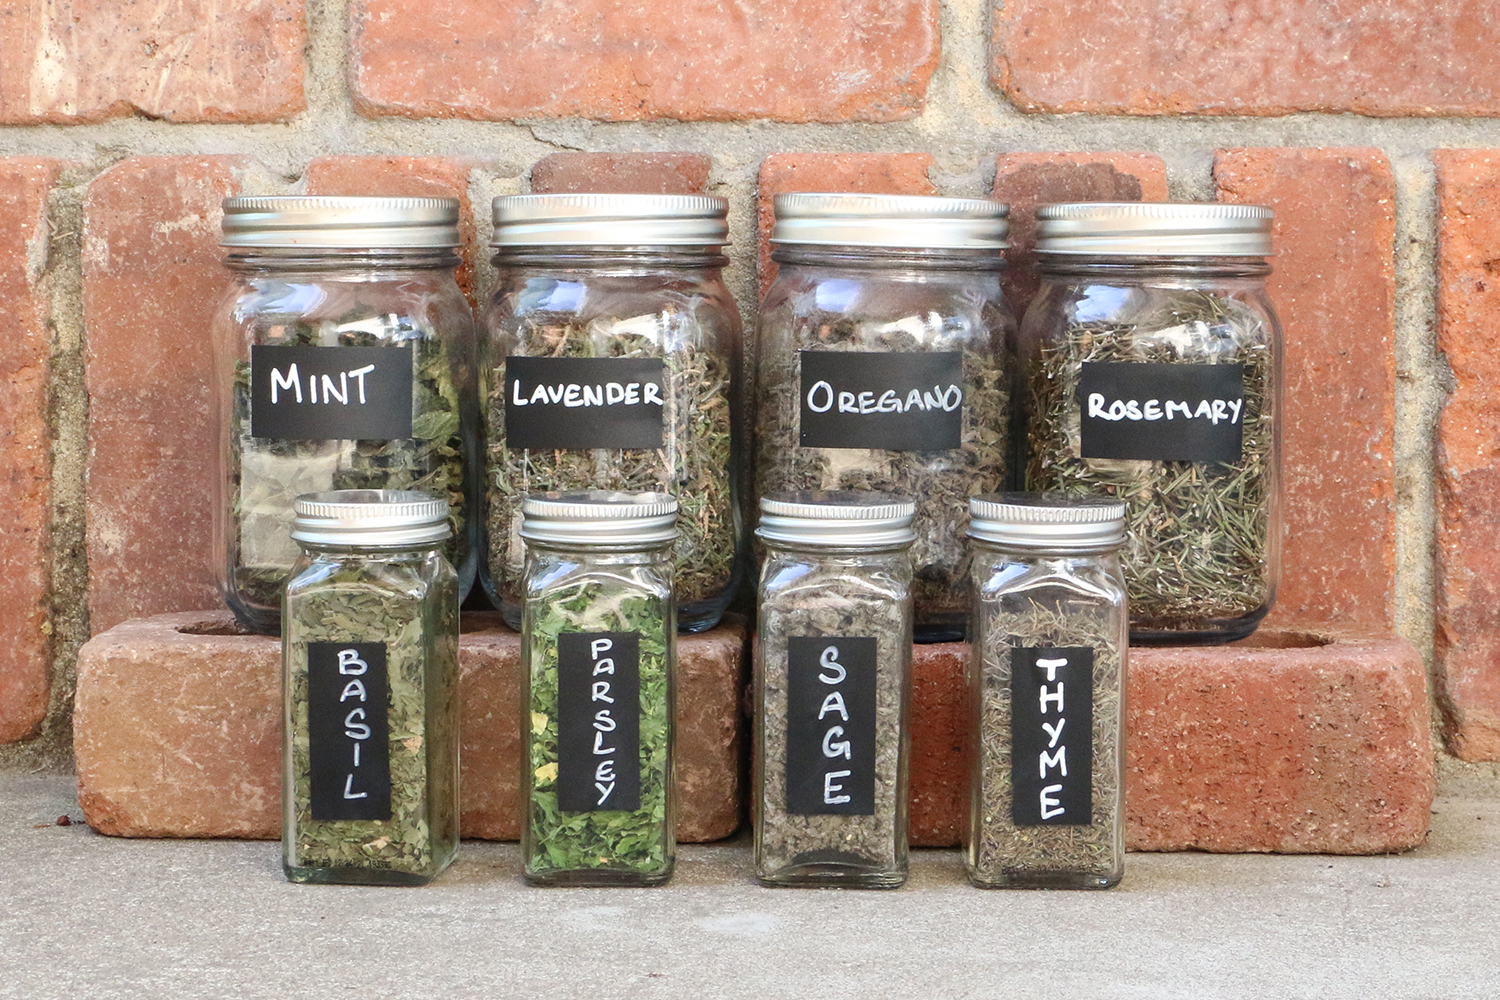
Make Your Own Dried Herbs
Dried herbs are a delicious way to pack in flavor to home cooking, but they can cost an arm & a leg at the grocery store. Whether you have a thriving herb garden in your backyard, or you’re looking for a way to preserve the fresh ingredients you have in the fridge, drying herbs yourself is the way to go. Not only is it so easy & simple, and it’s sure to save you some money, you’ll never go back to buying dried herbs at a store again!
Home Dried Herbs’ Environmental Benefits
Herbs are an incredibly beginner friendly plant for novice gardeners, they can easily be grown completely ZERO WASTE through seeds or propagation and are amazing to watch grow
Dehydrating foods is a wonderful method of preservation, allowing your food to last longer rather than spoiling and going to waste
Buying pre-packaged and convenience food from fast food chains or grocery stores promotes the use of single use containers, utensils, napkins, and more that’ll end up in landfills and oceans, whereas making the same meal at home makes single use items obsolete
Make Your Own Dried Herbs
Dry Time: 1 – 6 Hours
Ingredients:
- 1 or More Bunches of Fresh Herbs
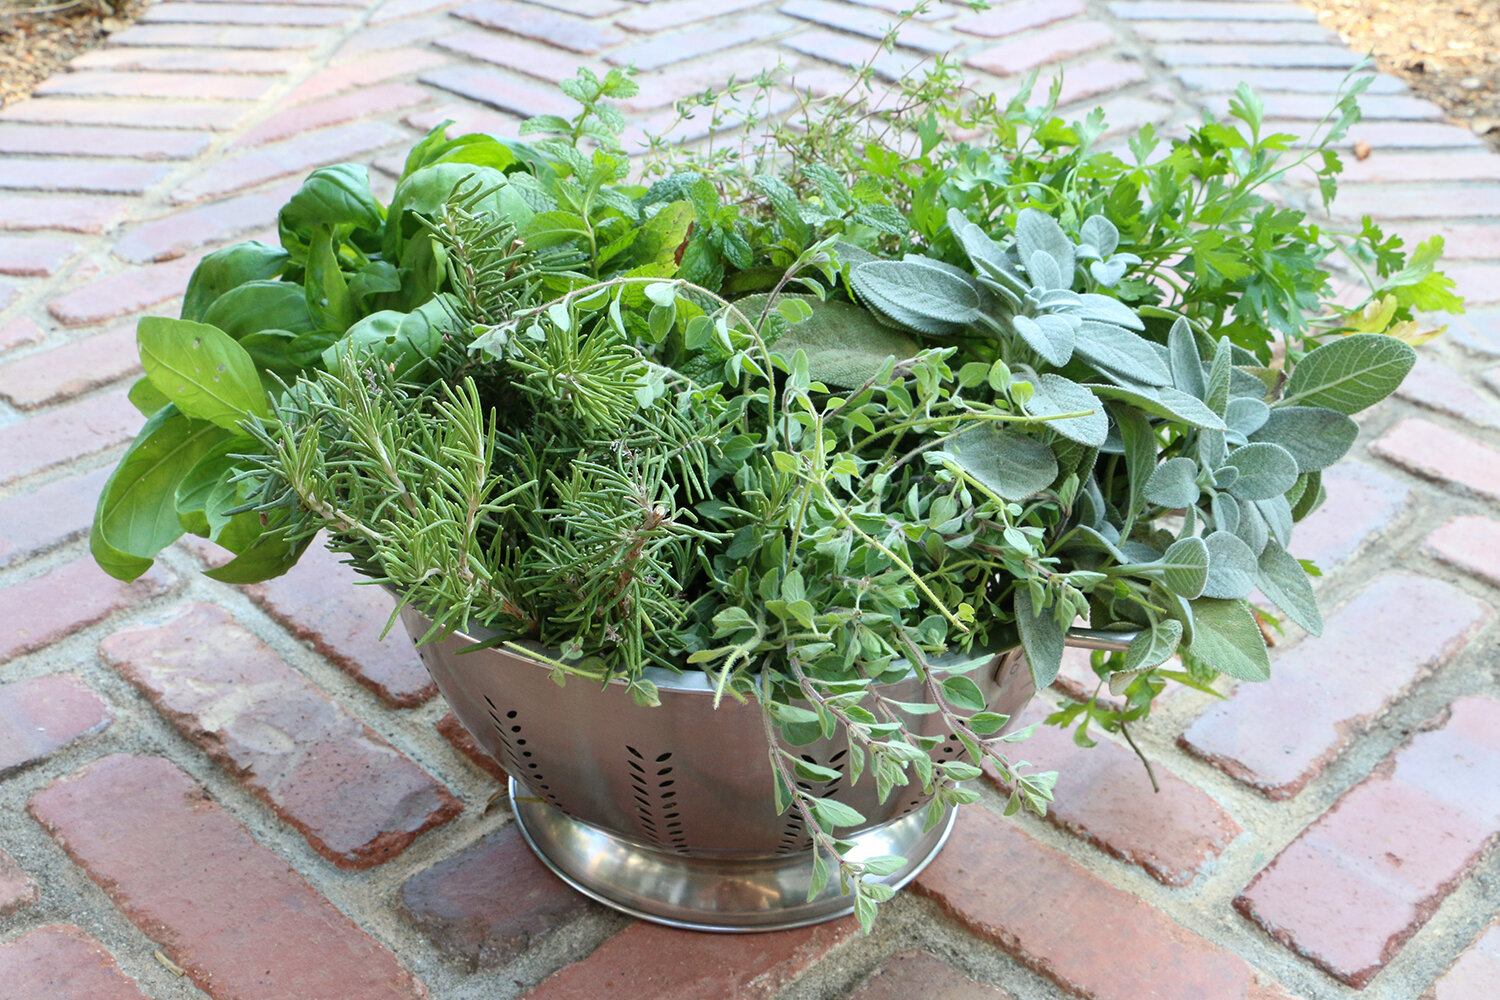
Fresh Herbs:
- Mint
- Thyme
- Rosemary
- Sage
- Parsley
- Basil
- Oregano
- Lavender
- Cilantro
- Bay Leaves
- Fennel
- Dill
Instructions:
DEHYDRATOR / OVEN DRY:
1. PREP: Rinse off all of your fresh herbs and shake off any excess water. For herbs with larger leaves, such as basil, mint, or sage, take each leaf off the stem. These stems make great additions to Homemade Vegetable Broth, adding a ton of flavor even without the leaves, so be sure to save them! For smaller leafed herbs, like oregano, rosemary, or thyme, the leaves can be dried while still attached to the stems. Place the leaves onto Reusable Silicone AirMat on top of a wire cooling rack, into a dehydrator basket, or onto an unlined baking sheet. Spread them out into a single flat layer so that there is little to no overlapping.
2. DRY: Once all the herbs are on the trays, place them into your dehydrator or oven and turn it on. Ovens should be turned on to the lowest possible heat or the dehydrate setting (if available). Be sure that any convection settings are turned off, otherwise the fan will blow the leaves everywhere. Leave the herbs in the dehydrator or oven for 30 minutes, at which point you can check on them. If they are crispy and dried, remove them. If they still have some moisture left, keep them in and check again after 30 minutes. The more herbs there are dehydrating at once, the longer it will take for them all to evenly dry, so leave the temperature on low and be patient!
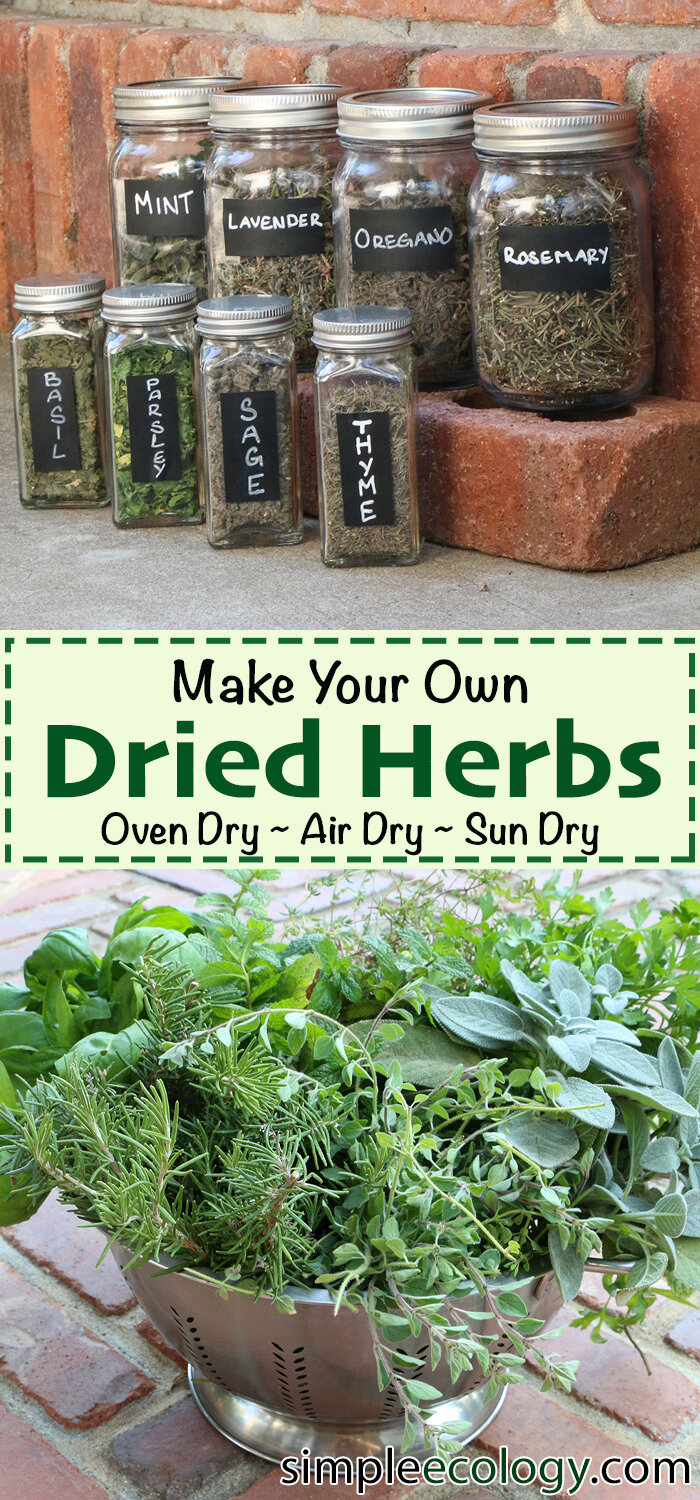
3. STORE: Once the herbs are all fully dried, they can be removed from the oven or dehydrator. Allow them sit on the counter for 10-15 minutes to ensure that they are fully dried, they should be delicate and crunchy. Get an empty container, mason jar, or spice jar, and begin transferring the herbs (use a funnel for easy transferring). The larger leafed herbs can be chopped into smaller pieces or easily crunched by hand before heading into their jar. For the smaller leafed herbs, remove the stem by holding onto it with one hand and gently running your fingers down the stems with the other. The leaves should fall off easily, and any stems that break off with the leaves can be picked out. These herbs can be used immediately, or stored in a cool dry place for up to 6 months.
AIR DRY:
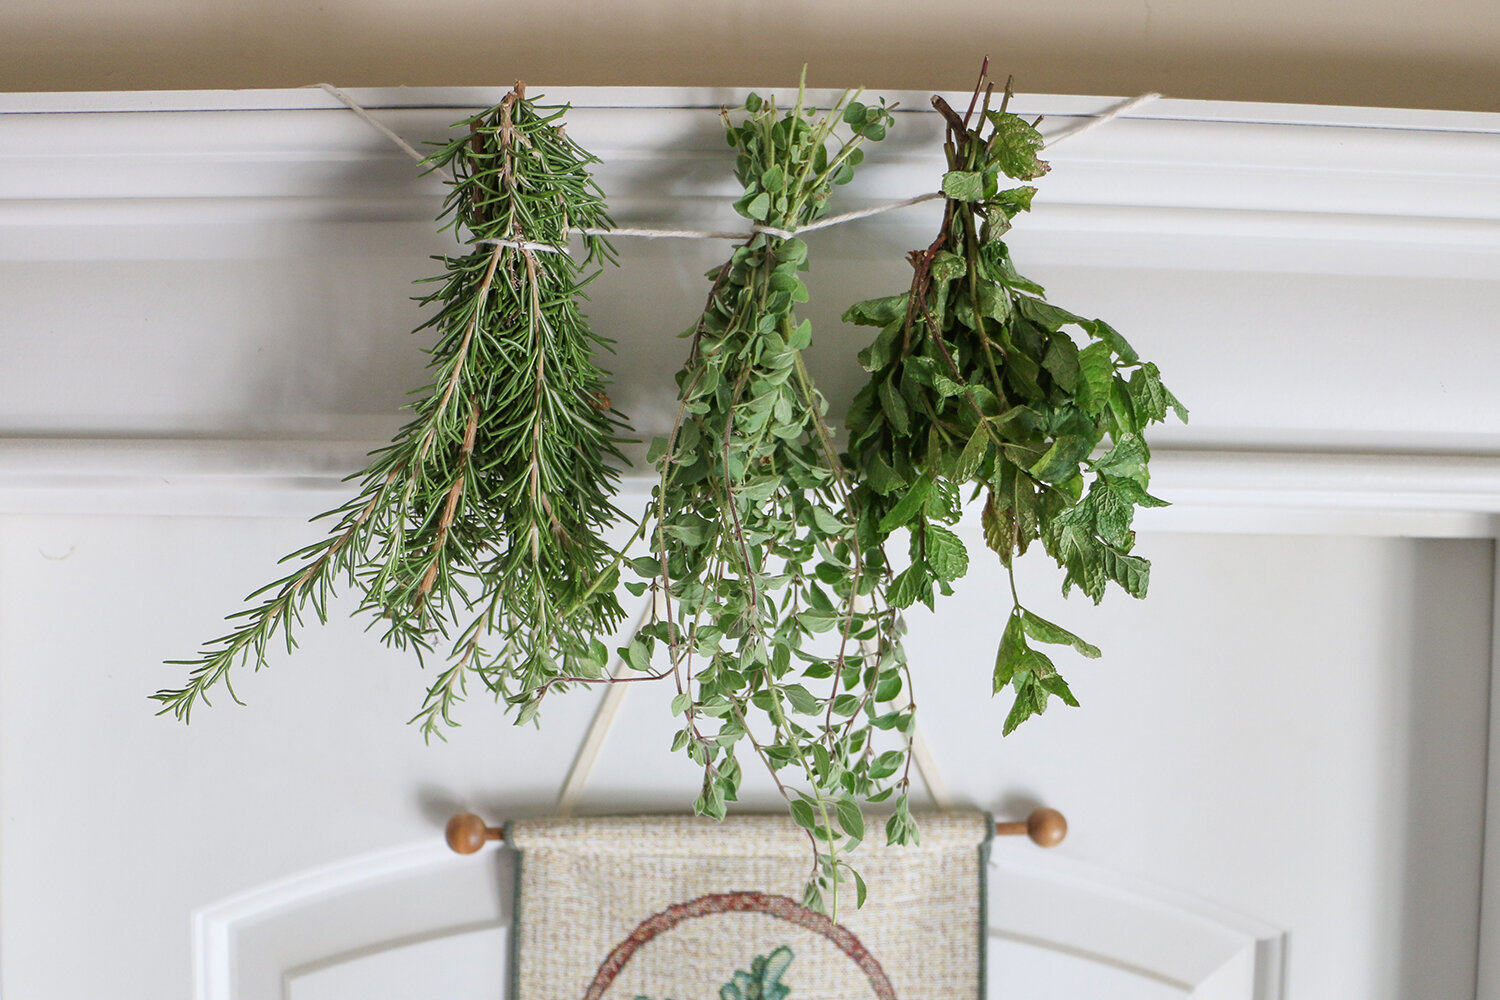
1. PREP: Rinse off all of your fresh herbs and shake off any excess water. Gather a bundle of the herb stems and tie them together with some string or twine, leaving enough string to hang the herbs by. Continue this with the rest of the herbs until they are all tied into bundles.
2. DRY: Hang up the tied bundles of herbs in a well ventilated area to dry, in a doorway or off a cabinet is perfect. Depending on the temperature, sunniness, and humidity, this can be a few days for them to dry out fully. Be patient and make sure they’re fully dried before storing them away, the leaves should be delicate and crunchy.
3. STORE: Get an empty container, mason jar, or spice jar, and begin transferring the herbs (use a funnel for easy transferring). Remove the stems by holding onto the stem with one hand and gently running your fingers down the stalks with the other. The leaves should fall off easily, and any stems that break off with the leaves can be picked out. These stems make great additions to Homemade Vegetable Broth, adding a ton of flavor even without the leaves, so be sure to save them! The dried herbs can be used immediately, or stored in a cool dry place for up to 6 months. Alternatively, you can leave the herbs hanging for a few months, taking some down as you need it. Just note that once dried, the leaves may begin to fall off the hanging stems, so watch where you step!
SUN DRY:
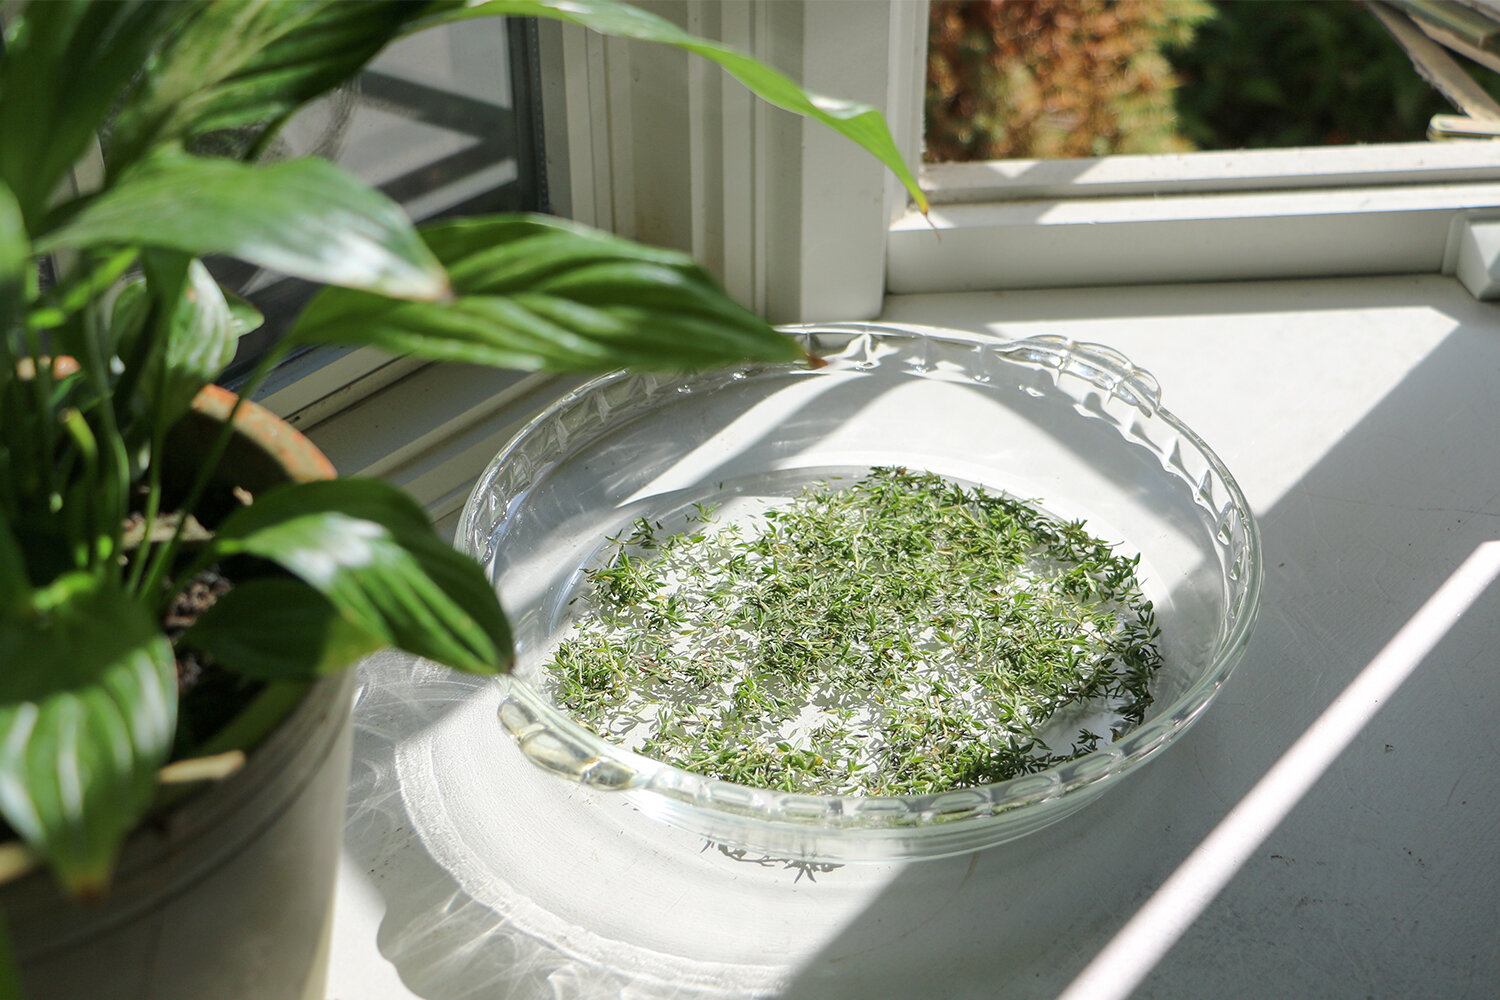
1. PREP: Rinse off all of your fresh herbs and shake off any excess water. Remove the leaves from the stems, placing the leaves into a pie dish or onto a baking tray. For smaller leaved herbs, remove the stems by holding onto the stem with one hand and gently running your fingers down the stalks with the other. The leaves should fall off easily, and any stems that break off with the leaves can be picked out. These stems make great additions to Homemade Vegetable Broth, adding a ton of flavor even without the leaves, so be sure to save them! Continue this with all the herbs, with each in a separate dish so that they don’t get mixed together, spreading the leaves out so that they’re not overlapping.
2. DRY: Place the tray into a warm sunny area, right next to a window is perfect, and allow them to sit until fully dried. Depending on the temperature, sunniness, and humidity, this can take up to a few days to dry out. It may take even longer for the herbs all to evenly dry, but be patient and make sure they’re fully dried, the leaves should be delicate and crunchy.
3. STORE: Get an empty container, mason jar, or spice jar, and begin transferring the herbs (use a funnel for easy transferring). These herbs can be used immediately, or stored in a cool dry place for up to 6 months.
Notes:
Ground Herbs – If you need ground herbs rather than the whole dried variety, no problem! Just take your thoroughly dried herbs and grind them up using either a spice/coffee grinder or a mortar & pestle. Then, take the grounds and store them in a clean spice jar. Shrinking Herbs – Since herbs and leaves are mostly water, drying them removes that water, making the herbs shrink drastically in size. While this concentrates the flavor, you may end up with a lot less dried herbs than you anticipated. So don’t be afraid to dry more herbs than you think you’ll need. Save the Stalks – Herb stems are the perfect way to add a pop of flavor to your Homemade Vegetable Broth, which is already made from other food scraps! Save the stems along with your other veggies in the freezer for some delicious, zero waste stock that’s bound to save you money. Suggested Recipes and Uses – Looking for ways to use your newly dried herbs while highlighting their delicious flavors? Try our recipes for Herb Roasted Pumpkin Seeds or Garlic Herb Seasoned Popcorn. These delicious snacks will have you reaching for them all day!

Did you make this recipe?
We love to see your pictures!
Tag @simple_ecology and hashtag it #simpleecology
© Simple Ecology


